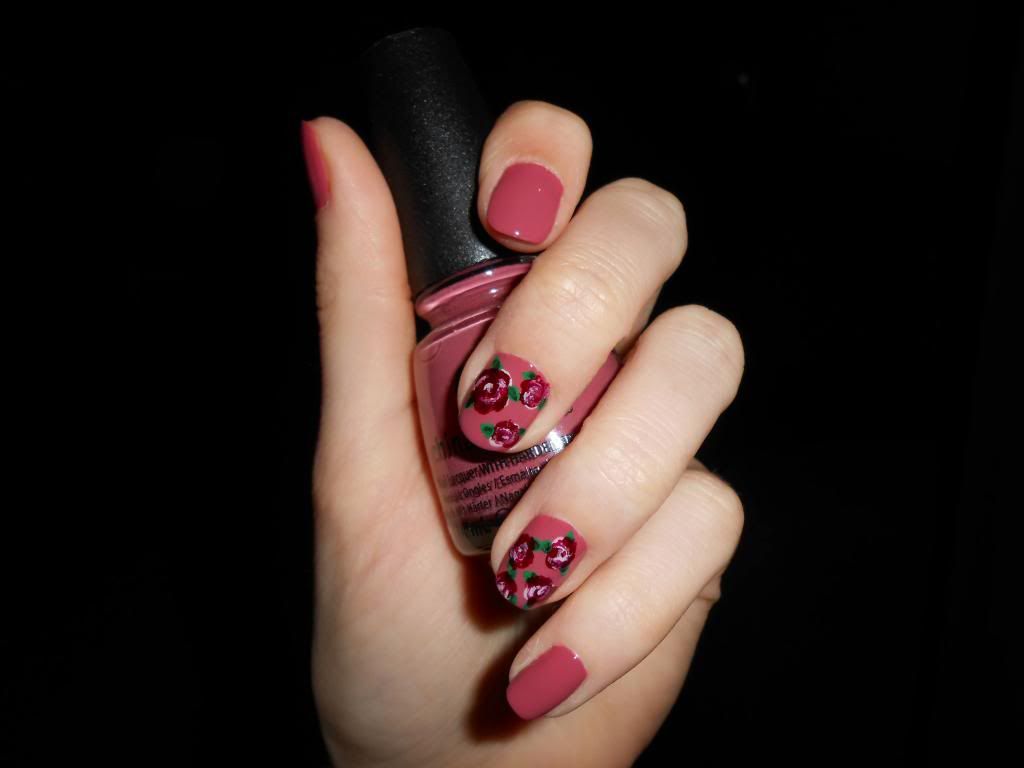
DIY, how to:
1. Assemble your colours! I think it's easier to paint if you pour out a little of them as I did in the picture.
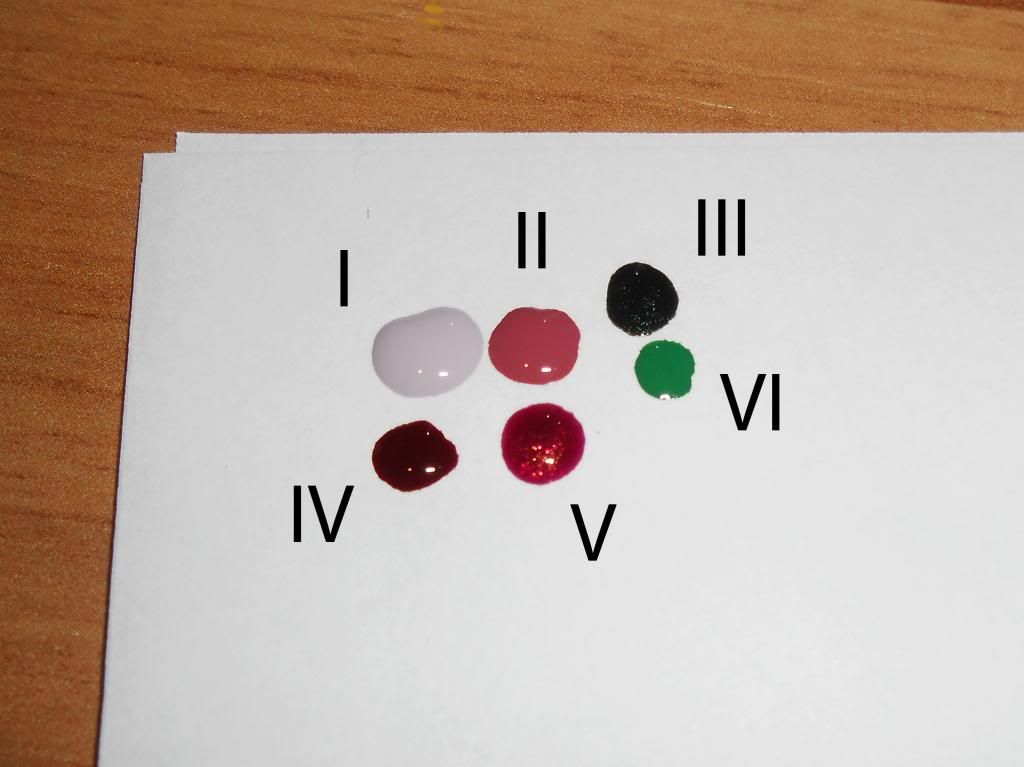
I - China glaze Light as air. II - CG. Fifth avenue. III - Maybelline 761. IV - Maybelline Rouge couture. V - BeYu 209. VI - Konad.
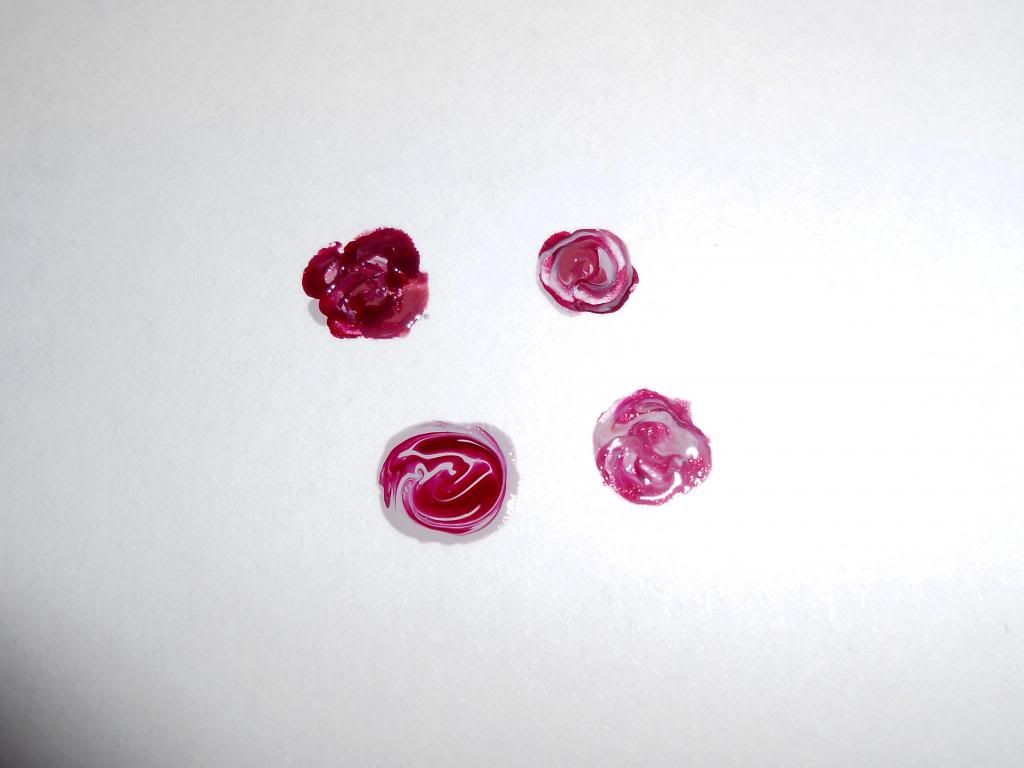
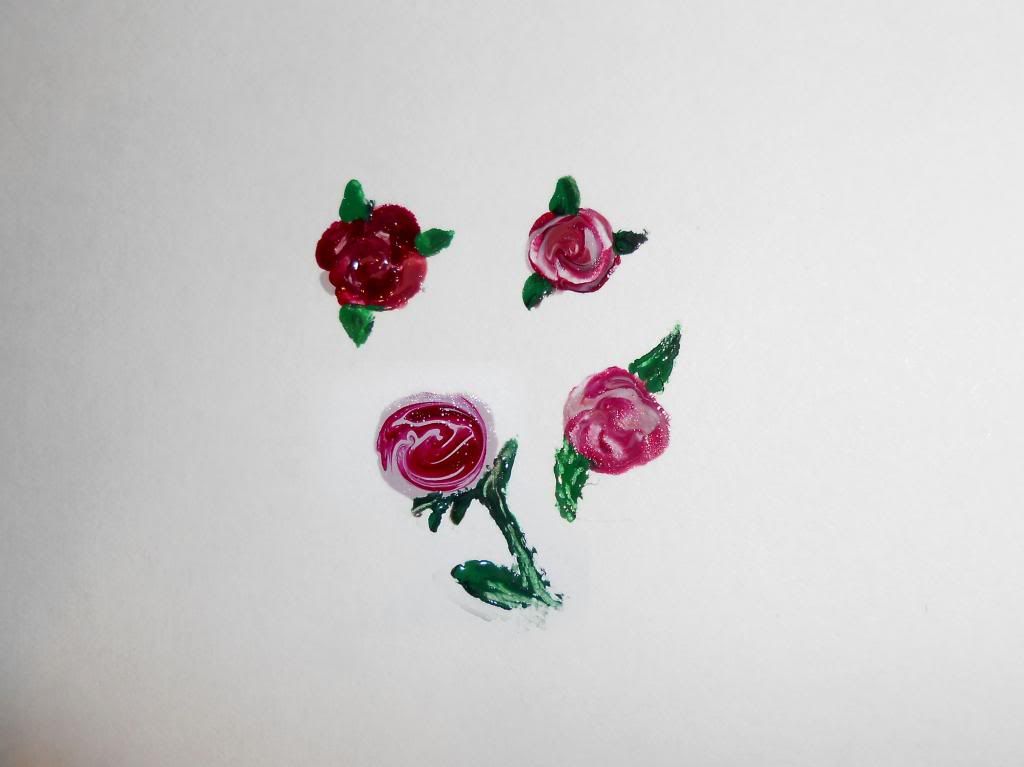
2. Add the colours of the roses in droplets on top of another as seen to the left, then use some sort of tool to swirl the colours together from the centre and out in a tornado motion. A toothpick is a suiting tool.
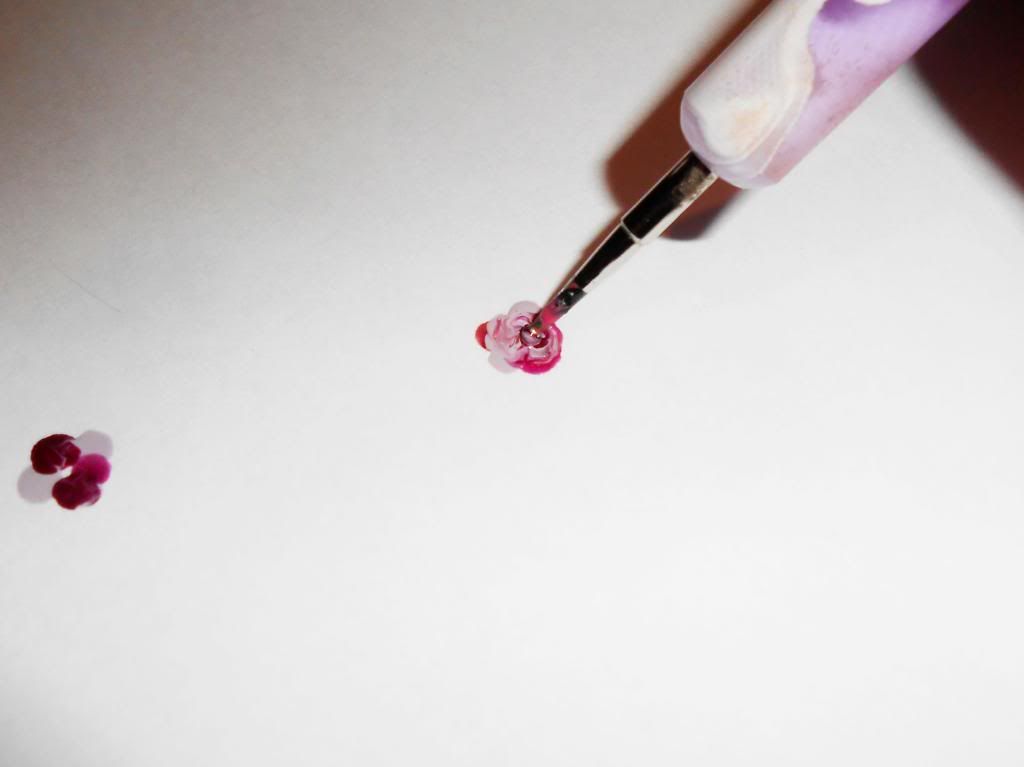
3. You can use more or less of certain colours and swirl randomly, the roses will appear unique every time. If you want you can add more of a certain colour at specific spots as I have done to the flower on the top left.
4. Leaves! Use the light green colour to make the base and fill in a little with the darker green thereafter. Depending on the length of your nails you might prefer different versions, here are a few examples.
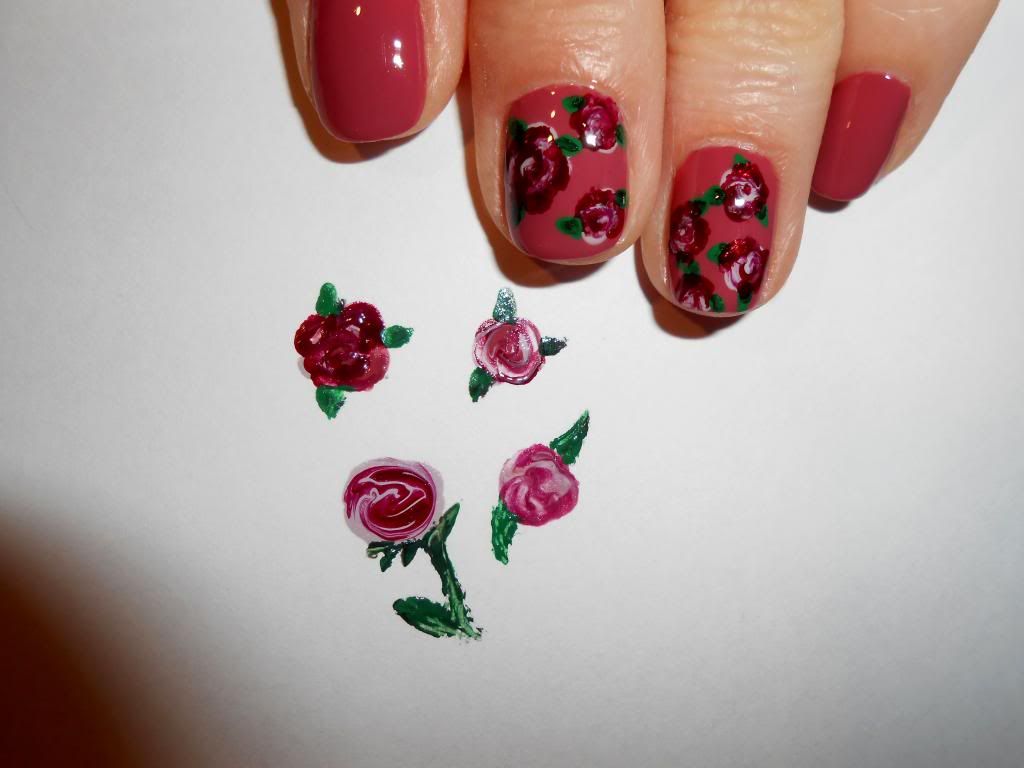
5. Add a topcoat to make the roses float together with the background and to make the design last longer without chipping. Finished :)))
No comments:
Post a Comment
You were saying: